
Sublimation printing has rapidly become one of the most popular techniques for producing vibrant, long-lasting designs on a wide range of materials, including fabrics, ceramics, metals, and more. But while sublimation prints are durable once transferred onto a surface, the prints and papers themselves require special care during storage.
If stored incorrectly, sublimation prints can fade, smudge, warp, or even become unusable before they’re pressed. Many crafters, businesses, and hobbyists struggle with maintaining their sublimation prints, particularly when handling bulk orders or long-term projects.
In this comprehensive guide, we’ll explore the best practices for storing sublimation prints, the environmental factors you should watch, and proven methods to ensure your designs remain crisp, vibrant, and ready for use, even years later. Whether you’re a beginner or an expert in sublimation printing, this article will serve as your go-to storage guide.
1. Key Takeaways
Before diving into the details, here are the main lessons you’ll learn in this article:
- Always use archival-quality, acid-free storage materials.
- Let sublimation prints fully cure before storage.
- Maintain a temperature of 10–30 °C (50–86 °F) and humidity of 40–50%.
- Organize your prints with labels, sleeves, and protective dividers.
- Avoid direct sunlight, moisture, and fluctuating environments.
- Regularly inspect prints to catch early signs of deterioration.
2. Selecting the Ideal Storage Materials for Sublimation Prints
The materials you use for storage directly impact the longevity and vibrancy of your sublimation prints. Cheap or poor-quality storage solutions can damage prints permanently.
Best Storage Materials
- Acid-Free Sleeves or Folders: Prevents chemical reactions and yellowing.
- Archival Storage Boxes: Keeps prints flat, protected, and dust-free.
- Loose Plastic Rolls (dust-resistant): For larger sheets, but must be acid-free.
- Archival Tubes: For rolled storage of oversized prints.
⚠️ Avoid: Regular plastic bags, thin cardboard, or PVC-based sleeves, as they may trap moisture and accelerate ink bleeding.
3. Preparing Your Prints for Storage

Before you place sublimation prints into storage, proper preparation is essential.
- Allow Curing Time: Even if a print feels dry in 10,15 minutes, the ink may still be stabilizing. For maximum safety, allow 24 hours before storage.
- Handle with Care: Always use clean, lint-free cotton gloves to prevent fingerprints, smudges, or oils transferring from your hands.
- Separate Prints: Place an acid-free sheet between each print to prevent sticking or ink transfer.
- Check for Dust & Moisture: Ensure your print is completely dry and dust-free before sealing.
Taking these extra steps ensures that no accidental damage occurs before long-term storage.
4. Optimal Environmental Conditions for Storing Sublimation Prints

Even the best storage materials won’t help if your environment isn’t controlled. Sublimation prints are highly sensitive to temperature and humidity.
- Temperature Range: 10–30 °C (50–86 °F). Anything beyond this range can cause curling or fading.
- Humidity Levels: 40–50% relative humidity is ideal. Too dry can cause brittleness; too humid can lead to mold growth.
- Air Quality: Store in a dust-free, well-ventilated space.
- Silica Gel Packs: Place inside boxes to absorb excess moisture.
⚠️ Avoid storing in basements, garages, attics, or areas prone to rapid climate fluctuations.
5. Organizing and Protecting Your Sublimation Prints
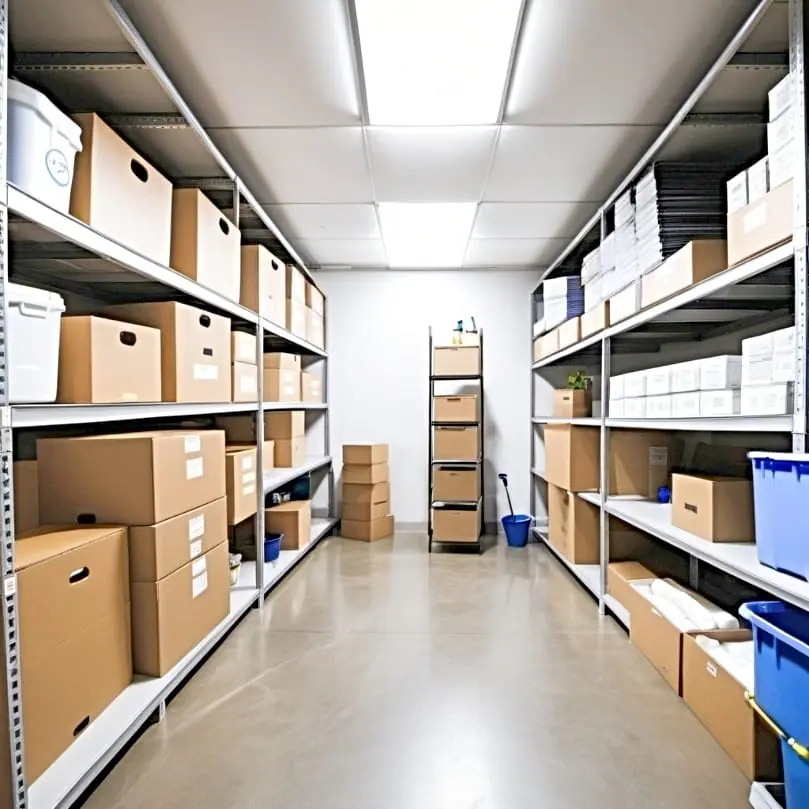
Good organization is not only practical but also protective.
Best Practices for Organizing Prints
- Flat Storage: Whenever possible, store prints flat to prevent curling.
- Label Everything: Mark folders or boxes with project names, dates, and paper types.
- Use Dividers: They keep prints from sticking together.
- Keep Away from Light: Store in opaque boxes or drawers to avoid UV damage.
By maintaining an organized storage system, you save time and protect your prints simultaneously.
Best Practices for Long-Term Preservation of Sublimation Prints

Preserving prints for the long term requires more than just good materials—it’s about consistency.
- Flat Storage: Prevents creases and is ideal for delicate designs.
- Rolled Storage: Useful for oversized prints but only with archival-quality tubes.
- Archival Boxes: Offer maximum dust and UV protection.
- Avoid Frequent Handling: The less you handle prints, the better they’ll last.
Pro tip: Rotate prints occasionally to avoid pressure marks in long-term flat storage.
Display Options for Sublimation Prints
Not all sublimation prints are meant for storage—some deserve display!
- UV-Protected Frames: Prevent fading from sunlight.
- Shadow Boxes & Display Cases: Provide both visibility and protection.
- Rotating Displays: Reduce long-term light exposure on a single piece.
This way, you can showcase your work proudly while maintaining its longevity.
8. Maintaining the Quality of Your Stored Prints
Regular maintenance checks help you identify and fix issues before they become permanent.
Check for:
- Fading or discoloration
- Curling edges or creases
- Moisture stains or mold
- Dust accumulation
Solution: If damage is spotted, move prints to a more stable environment immediately.
Conclusion
Sublimation printing is a powerful technique that allows businesses, artists, and hobbyists to create stunning designs. But the true test of craftsmanship lies not just in the printing process,but also in how well you preserve your prints for future use.
By following the strategies outlined in this guide,choosing the right storage materials, preparing prints properly, maintaining ideal environmental conditions, and organizing effectively—you can ensure that your sublimation prints remain vibrant, durable, and professional-looking for years to come.
Whether you’re a small business managing bulk orders or a crafter safeguarding personal projects, investing in proper storage is the key to long-term success in sublimation printing.
If You want Read for more about Click here