
Essential Sublimation Tips and Tricks have revolutionized the world of customized products, offering unmatched quality, durability, and design possibilities. Whether you’re creating personalized t-shirts, mugs, or large-scale decorations, sublimation ensures vibrant colors that don’t peel or crack over time. However, mastering this craft requires more than just a printer and heat press—it takes skill, technique, and knowledge of best practices. In this article, we’ll dive into essential sublimation tips and tricks, covering everything from setup and advanced techniques to troubleshooting and efficiency hacks. By the end, you’ll have a complete guide to elevate your sublimation projects to the next level.
Key Takeaways
- Sublimation delivers long-lasting, high-quality prints with vibrant color reproduction.
- Success requires proper tools, techniques, and consistent practice.
- Workflow efficiency and troubleshooting skills save time and materials.
- Advanced methods allow you to expand creativity and grow your business.
Unlocking the Secrets of Sublimation Success
The secret to sublimation success lies in preparation and precision. Start with high-quality sublimation paper and genuine inks to avoid faded prints. Always use substrates specifically coated for sublimation to ensure maximum adhesion of the ink. Equally important is mastering the three main heat press variables—time, temperature, and pressure. These factors determine how well the ink bonds to the substrate. For example, a typical polyester t-shirt requires pressing at 400°F for 60 seconds with medium pressure, but ceramics may demand different settings. Keeping a logbook of successful settings for various materials can save time and reduce mistakes in future projects.
Another key to success is practicing patience. Don’t rush into bulk production without test prints. Even experienced sublimation experts run samples first to confirm alignment, color, and transfer quality. By prioritizing preparation, you can avoid costly errors and consistently achieve professional-level results.
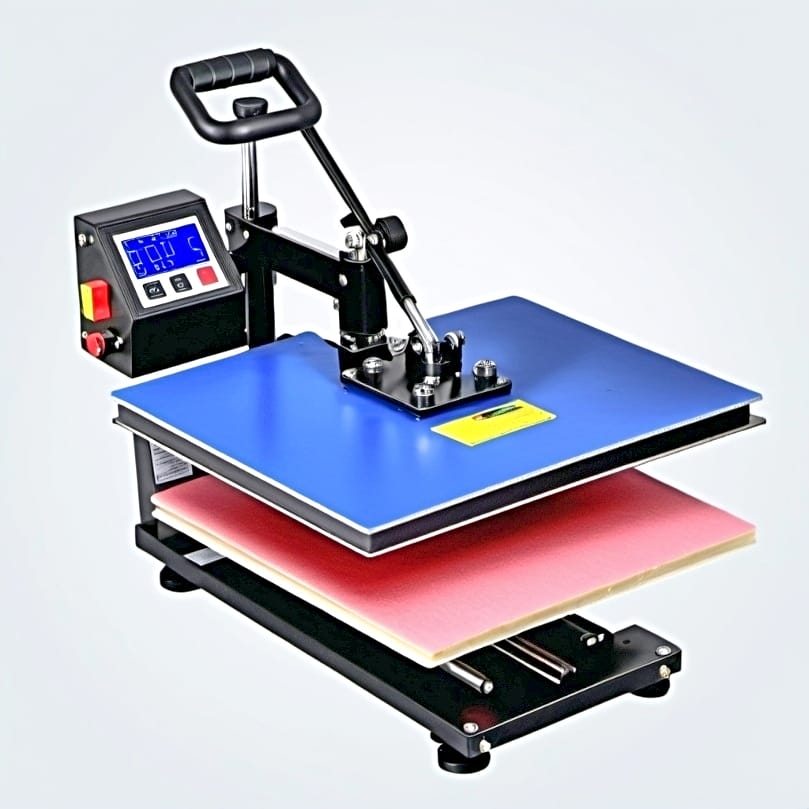
Crafting the Perfect Sublimation Sandwich

The sublimation sandwich is the foundation of every successful transfer. Think of it as a recipe where each layer matters:
- Bottom layer: Protective paper to shield your heat press from stray ink.
- Middle layer: Sublimation paper with your printed design facing the substrate.
- Top layer: Another sheet of protective paper or Teflon sheet to prevent ink bleed.
This layered setup ensures even heat distribution and protects your equipment. To prevent ghosting (double images caused by shifting), secure the sublimation paper with heat-resistant tape. Also, ensure there are no wrinkles in the fabric or misalignment between the layers, as these can ruin the final print. Mastering this simple but crucial step guarantees crisp, clean, and vibrant results.
Advanced Techniques for Sublimation Decorating

Once you’ve mastered the basics, it’s time to explore advanced techniques:
- All-over Printing: Perfect for sports jerseys and fashion apparel, requiring large-format heat presses.
- Textured Substrates: Items like canvas or wood add a unique effect when combined with sublimation.
- Mixed Media Designs: Combine sublimation with vinyl or embroidery to create multi-dimensional products.
- Niche Personalization: Offer custom designs for weddings, birthdays, or corporate events. These niche markets often pay higher rates.
Experimentation is key here. The more you practice advanced decorating techniques, the more creative opportunities you unlock, allowing your products to stand out in a crowded market.
Navigating the Sublimation Printing Process
The sublimation process can be broken down into four key stages:
- Image Preparation: Create high-resolution designs in CMYK color mode. Always mirror the image before printing.
- Printing: Use ICC profiles to maintain color accuracy. Check ink levels regularly to avoid streaks.
- Heat Transfer: Place the design in your sublimation sandwich and press at the correct settings.
- Post-Press Inspection: Check for even color, sharp details, and absence of ghosting.
Maintaining consistency at each stage ensures flawless results. Beginners often overlook color profiles or mirror settings, leading to waste. By double-checking each step, you minimize errors and guarantee professional-quality outcomes.
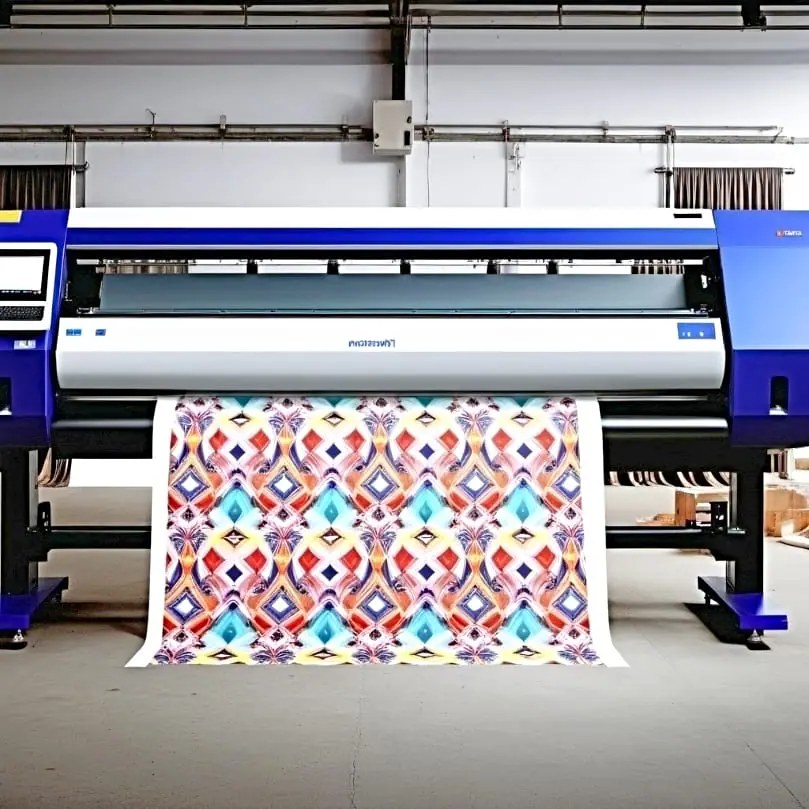
Sublimation Ink: Maximizing Color and Longevity
Sublimation ink plays a pivotal role in the vibrancy and durability of your prints. Invest in high-quality inks that are compatible with your printer model. Cheap alternatives may save money upfront but often lead to clogged print heads, dull colors, and short-lived results. Store ink cartridges in a cool, dark place, and shake them gently before use to prevent sediment buildup.
To maximize longevity, educate your customers about proper care. Sublimated fabrics should be washed in cold water with mild detergents and should not be exposed to bleach. For hard substrates like mugs, sublimation prints remain dishwasher safe, but handwashing is often recommended for extended life.
Streamlining Your Workflow for Efficiency
Efficiency separates hobbyists from professionals. A streamlined workflow saves time, reduces stress, and improves profitability. Here’s how you can optimize:
- Workspace Organization: Keep blanks, sublimation papers, and inks in clearly labeled storage.
- Batch Processing: Print and cut multiple designs before heat pressing to minimize downtime.
- Maintenance Schedule: Clean your printer heads weekly and inspect your heat press regularly.
- Digital Templates: Use templates for common products like mugs or phone cases to reduce design time.
By adopting these practices, you can handle large orders confidently while maintaining quality control.
Troubleshooting Common Sublimation Challenges
Even with experience, issues arise. Here are common challenges and quick fixes:
- Blurry Designs: Usually caused by excessive pressure or moisture in the substrate. Dry items thoroughly before pressing.
- Faded Colors: Check ink expiration dates and confirm you are pressing at the correct temperature.
- Ghosting: Always secure designs with heat tape and avoid shifting after pressing.
- Banding: Perform printer maintenance by running nozzle checks and head cleanings.
Troubleshooting requires observation and adjustment. Keep track of recurring issues and their solutions to continuously refine your process.
Conclusion
Sublimation printing is an exciting and rewarding craft that offers limitless opportunities for personalization and business growth. By applying the strategies in this guide—preparation, workflow efficiency, advanced techniques, and troubleshooting—you’ll elevate your sublimation game to professional standards. Whether your goal is creative expression or building a thriving business, sublimation provides the perfect platform for success. With practice and persistence, you’ll unlock the true potential of this dynamic printing method.