
Sublimation paper plays a critical role in sublimation printing, a powerful method for creating high-quality, durable, and vibrant designs on various surfaces. But one of the most overlooked aspects is choosing the correct side of sublimation paper for printing. Printing on the wrong side can lead to faded results, wasted materials, and frustration. This comprehensive SEO-friendly guide explains how to identify the printable side of sublimation paper and provides essential tips for flawless transfers every time. Whether you’re a beginner or an experienced sublimation artist, understanding this fundamental step will elevate the quality of your work and reduce costly mistakes.
Key Takeaways
- Always print on the coated side of sublimation paper.
- Use simple methods like touch, light inspection, or marker testing to find the correct side.
- Correct printing ensures vibrant images, better transfer quality, and material savings.
- Improper technique can lead to blurry images, ink waste, and failed prints.
Understanding Sublimation Paper
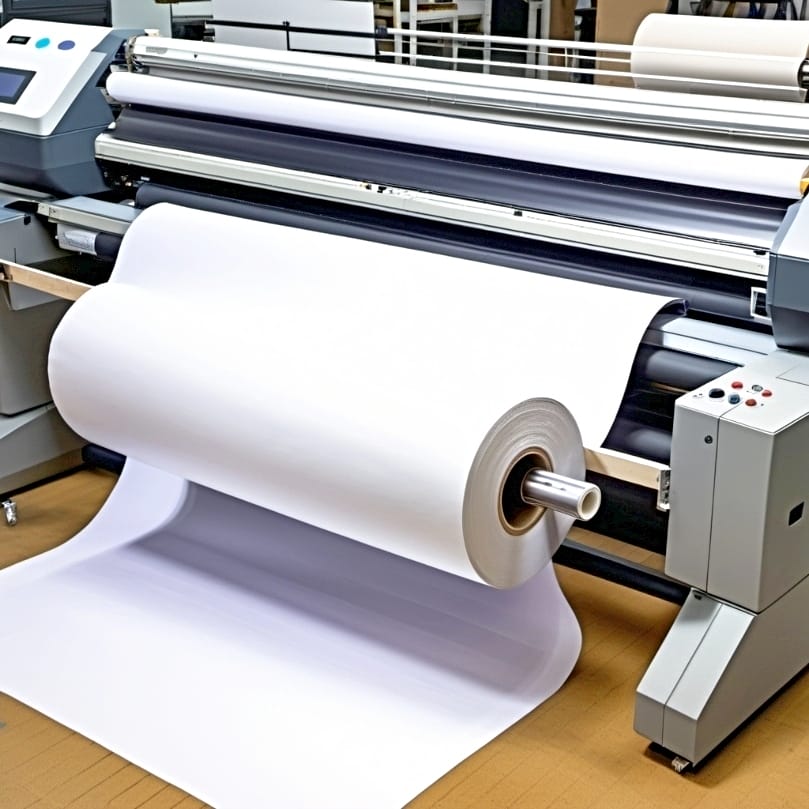
Sublimation paper is specially designed to hold sublimation ink and release it when heat is applied. The paper has two sides: a coated side that holds the ink and a backing side. The coated side is typically brighter and smoother and is the only side suitable for printing.
Sublimation ink turns into gas when exposed to heat and pressure. The coated side of sublimation paper holds the ink in place until it’s transferred onto the final substrate. Printing on the wrong side means the ink won’t transfer correctly, affecting the entire output quality.
There are different types of sublimation papers designed for various substrates like textiles, ceramics, and metals. Each has a specific coating suitable for that surface, making it even more important to print on the right side.Don’t miss the comparison between laser and sublimation printers
Identifying the Correct Side of Sublimation Paper
Choosing the wrong side can ruin your design. Here are a few quick methods to ensure you print on the right side:
Visual Inspection Method
Hold the paper under bright light. The printable side is usually whiter or glossier. The back may look dull or slightly yellow.
Touch Test Method
Feel both sides of the paper gently. The printable side will feel smoother and slightly slick, while the back feels more papery or rough.
Marker Test Method
Draw a small dot with a pen or marker on both sides. The side where the ink dries quickly and looks sharp is the coated (printable) side.
Many high-quality sublimation papers also have a watermark or subtle marking on the non-printable side to avoid confusion.
The Importance of Printing on the Right Side of Sublimation Paper

Failed Transfers
When you print on the wrong side, the ink doesn’t transfer to your substrate properly. This can result in incomplete or missing images.
Poor Image Quality
Your design may look fine on paper, but the final transfer will be faint, blurry, or discolored.
Wasted Materials
Mistakes mean lost time, paper, ink, and blank substrates—whether it’s a mug, shirt, or keychain.
Professional Reputation
For businesses, repeated errors can hurt customer satisfaction and your reputation. Paying attention to details like this ensures consistent quality.
Tips for Successful Sublimation Printing
Proper Printer Settings
Always use the recommended ICC profile for your printer and sublimation ink. Print in high-resolution mode to ensure crisp, clear images. Set your printer to mirror the image if necessary.
Faded or Incomplete Image Transfers
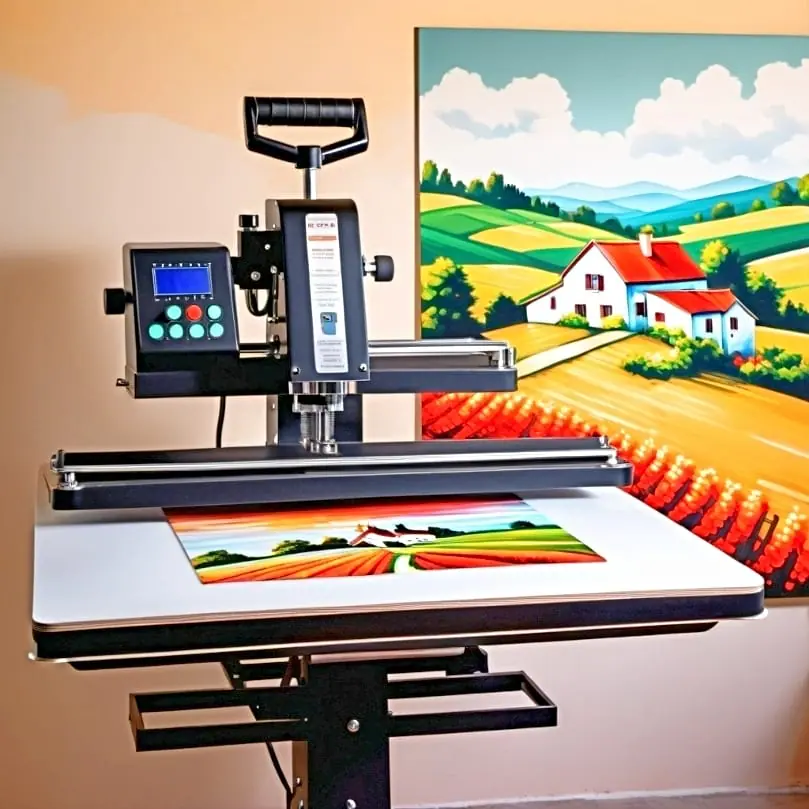
Make sure the heat press is set to the correct temperature (usually 375–400°F or 190–204°C) and pressure. Time and temperature settings vary depending on the material.
Ink Bleeding or Smudging
Let the print dry before transferring. Avoid touching the printed side with oily or moist fingers. Keep your printing environment free from humidity.
Use Heat Tape and Protective Sheets
Secure the paper onto the substrate with heat-resistant tape. Use Teflon or parchment sheets to prevent ink from staining your heat press.
Pre-Press the Substrate
Remove moisture from fabrics by pre-pressing them for 5–10 seconds. This prevents steam from interfering with the transfer process.
Selecting the Right Materials for Your Sublimation Project

The quality of your final product depends heavily on the materials you choose:
- Sublimation Paper Choose a reputable brand with consistent quality and clear coating.
- Ink: Only use sublimation inks compatible with your printer model.
- Substrate: Must be polyester-coated or made of synthetic materials like poly-coated ceramics, aluminum, or polyester fabrics.
- Printer: EcoTank printers converted for sublimation or specialized sublimation printers (e.g., Sawgrass).
Investing in quality tools and supplies may cost more initially but saves you from costly errors and low-quality output in the long run.
Advantages and Disadvantages of Sublimation Printing
Advantages
- Long-lasting and durable prints that don’t peel or crack
- Perfect for detailed, full-color images and photographic prints
- No additional drying time or finishing needed
- Permanent prints when done correctly
Disadvantages
- Only works on light-colored, polyester or coated materials
- Not compatible with cotton or dark fabrics without special treatment
- Requires dedicated equipment and setup
- Initial setup costs may be high for beginners
Conclusions
Printing on the correct side of sublimation paper is a small but crucial step in the sublimation process. Using the right techniques to identify the printable side can make a significant difference in the quality of your final product. From visual inspections to marker tests, there are easy ways to get it right every time. Pair this with the right settings, tools, and materials, and you’ll consistently achieve professional, high-quality results.
Don’t let small mistakes ruin your hard work. Take the time to identify the right side of the paper and follow best practices to turn every project into a success.